Tuesday, June 26, 2012

Nappy cake


Ok - this isn't strictly cooking but I do promise that it is calorie free!!


Portlaoise has been crowned baby boom capital of Ireland, I think Dublin must be coming a close second - it is certainly leading the way in wishing new mums well as they prepare for motherhood with BABY SHOWERS.  The baby shower has become the social highlight of many a thirysomethings social calendar and apparently a ‘nappy cake’ is a must.

What you need:


Nappies           I used about 80 to make a 3 tiercake.  I was told to only buy Pampers or Huggies and that size 3 was the most useful as not all new born babes fit into the smaller sizes.
Elastic Bands  You need one small one for each nappy,about 80 and about 10 larger ones for arranging the tiers
Ribbon            Colour of your choice, I chose a neutral-ish purple.  If you know you are celebrating a boy or a girl – it should make the choice fairly obvious ;-)

Other items that the new mum will need can be added as well, I included baby shampoo and lotion, Sudocrem, cotton buds, mits, a hat and a toy.  You could also include bottles, bottle brushes and soothers.


Start by rolling up each nappy and holding it with one of the small elastic bands.


What to do:
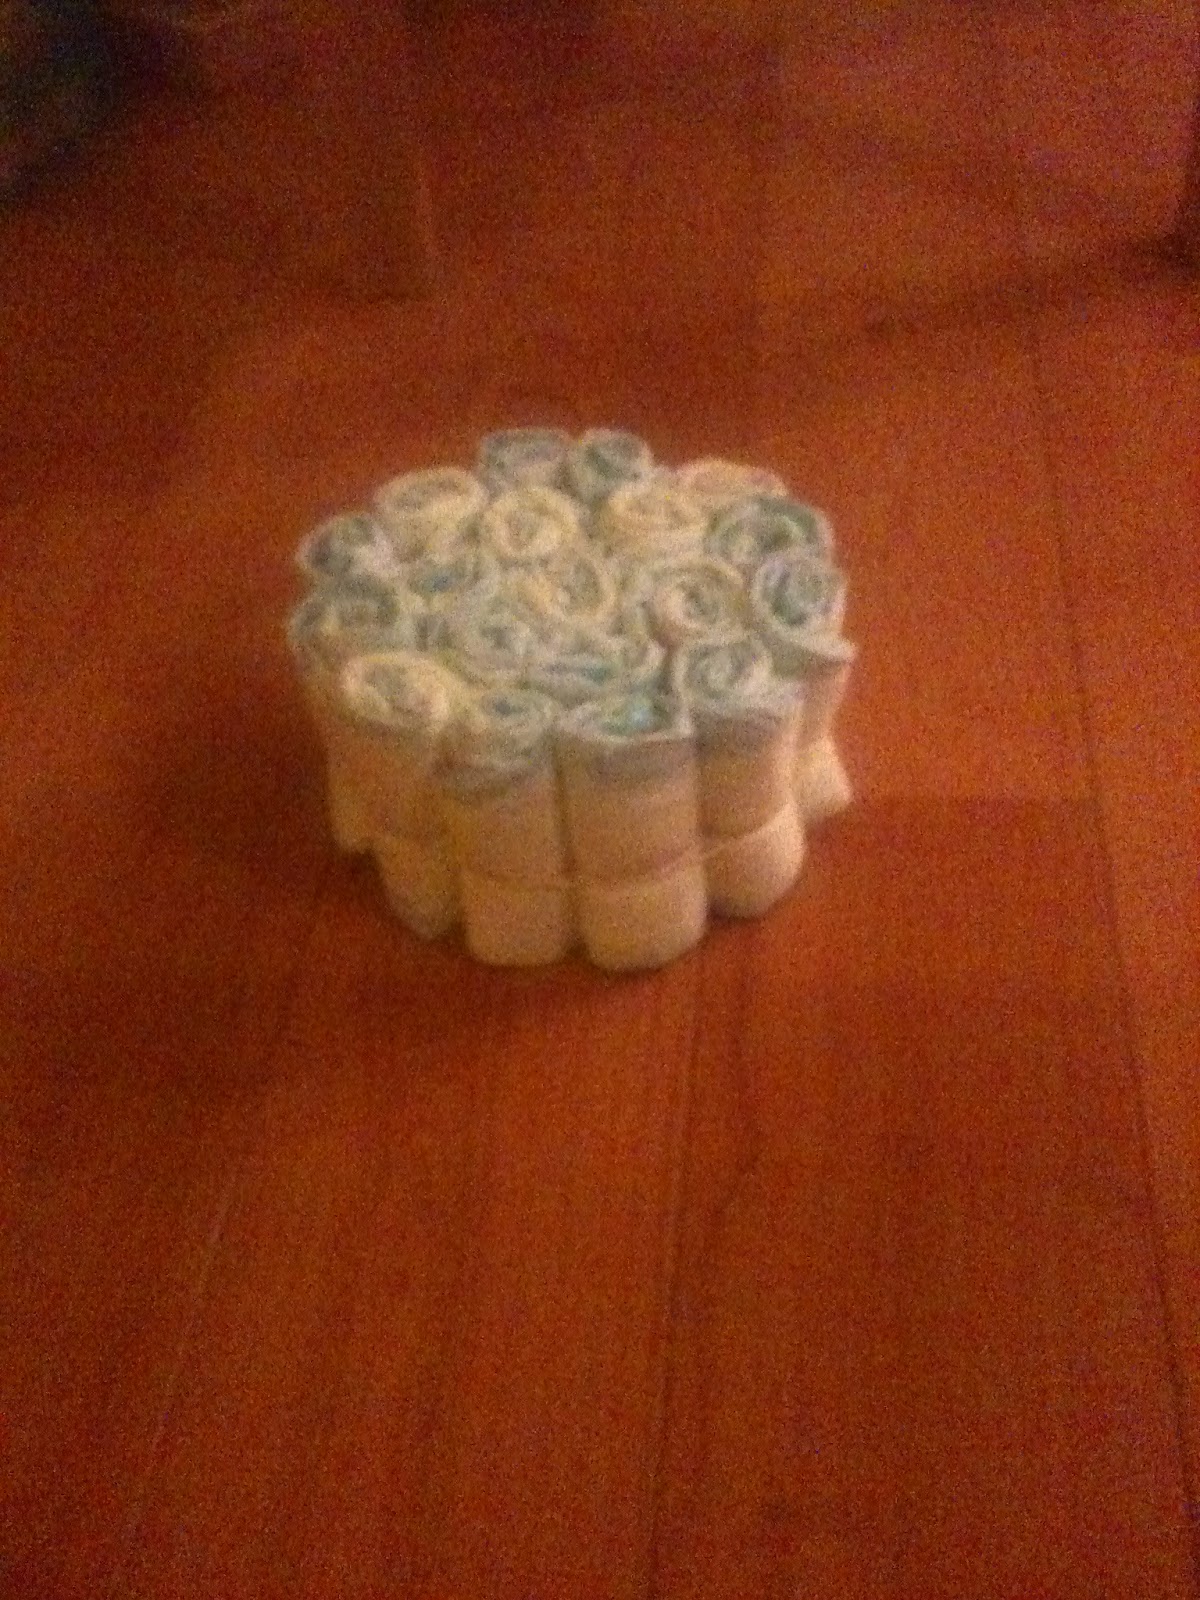
Once you have all the nappies rolled you need to start arranging into tiers.
For the top tier, use one rolled nappy as the centre point and then arrange about 6 nappies around this nappy in a circle and secure with an elastic band.  This should be big enough for the top tier. 


As the lower tiers need to be larger than the top tier, follow the instructions for the top tier but add another row or ring of nappies and secure with a large elastic band.  
Depending on how big you want each of the lower tiers to be, continue to add rows or rings of nappies – securing each set with a large elastic band.


Once you have all 3 tiers made you need to stack them on top of one another – now you have the basic structure of the cake.

Decorating the cake:
Cut the ribbon into 3 and tie it around each tier ensuring you cover any visible elastic band.
If you are adding other items – you can remove some of the nappies from the edge of the tiers and replace with some suitably shaped items –bottles of shampoo or baby lotion, feeding bottles or Sudocrem.
You could also replace the centre nappy with some of the other items – bottles either empty or containing baby products are probably the best shape.
You can tuck things like the hat and mits around the edges and place the toy on top!


Sunday, June 17, 2012

Bruschetta on a Summer's Day

Now I know we haven't had much sunshine yet but on one of the few sunny days we had in May I was inspired to make bruschetta. I am not much of a salad person but I love this dish and I always feel healthy after eating it! My Dad was the first person in our family to make this dish. My mother subsequently stole the recipe from Dad and claimed it as her own. Now I'm stealing it and claiming it as my recipe. It's an easy one to make and you can add other ingredients to it such as chilli or cucumber or whatever you fancy. Equally you can add more or less of the garlic and onions to suit your taste. Dad reckons the secret is in the bread so choose carefully! 
Maybe if everyone makes bruschetta the sun will come out for us, here's hoping!!


Ingredients (serves 3-4)
12 medium sized ripe tomatoes(plum, cherry, any sweet tomato works well)
1/2 red onion
1/2 yellow pepper
2 cloves of garlic
2 stalks of basil
2 thickly cut rounds of tiger bread(or any fresh crusty white loaf)
Good olive oil

I served this with rocket leaves and balsamic dressing.

Collect all your ingredients
                                                     

Chop tomatoes roughly into half, then quarters and then chop once more across the middle. If using cherry tomatoes you can just chop them in half.


 Place in a bowl.

 Chop the pepper and onion finely and add to the tomatoes.


 Crush the garlic into the mixture and mix well.

Shred the leaves of basil and add into the mix. Add enough olive oil to coat the mixture.

Place the mixture in the fridge to chill.


  The bread can now be toasted in the oven
 To assemble drizzle a small amount of oil onto the oven-toasted bread. Spoon the tomato mixture onto the bread. 
 
 Serve with salad and sunshine!


Sunday, May 20, 2012

Dr. Rita Hand's Carrot Cake

Ok Strawberry, I am super impressed by the blog so here is my first contribution under my alias, Dr. Rita Hand.  I made this cake for a cake sale in work and made the mistake of mentioning it to the girls and of course, I was volunteered for dessert duty the following Tuesday.

Ingredients
For the cake:
2 eggs
150ml vegetable oil (I used sunflower oil)
200g white sugar
1 teaspoon vanilla essence
125g plain flour
1 teaspoon bread soda
1 teaspoon baking powder
1/4 teaspoon salt
2 teaspoons ground cinnamon
2 large carrots grated
65g pecans (chopped, or pulverised in the liquidiser; whichever your preference)

For the icing:
65g butter
110g cream cheese (I used low fat and it worked perfectly)
240g icing sugar
1/2 teaspoon vanilla essence


Preheat the oven to 170 degrees celsius. 


 Into a large bowl, place the eggs, white sugar and vanilla essence.


Beat this mixture together with a fork.


Sieve the flour into the mixture.


Add the ground cinnamon.


Using a fork, mix until you achieve a smooth consistency.


Add the grated carrots.


Pop the pecans into the liquidiser and turn on for a few seconds.


Stir the grated carrots and ground pecans through the mixture.


Grease a loaf tin with a little butter and dust with a little flour.  Pour the mixture into the loaf tin. 


Bake in the oven for approximately 45-50 minutes (for a fan-assisted oven).  Stick a skewer into cake and if it is clean when removed then the cake is ready!  Leave to cool before trying to remove from the cake tin. 


For the icing, use soft butter and chop into small pieces.  Add to liquidiser or bowl if you have a hand mixer (my kitchen equipment is limited).  The liquidiser is from Aldi- thanks Mum!  Sieve in the icing sugar and add the cream cheese and vanilla essence.  Pop the lid on and turn the liquidiser on full blast until you achieve a nice, smooth consistency.  You may need to stop for a few seconds and mix with a spoon to ensure no pockets of icing sugar are forming.  You may find it necessary to taste it at this point.  You may also find that plenty of willing volunteers will suddenly materialise to "help".


Pour the icing over the cake.  Even with a generous layer, there will be plenty left over.  This icing is also really good for cupcakes.


Top with a pecan or two to make it look pretty.

Sunday, May 13, 2012

Battenburg cake


Our gang is like rent-a-crowd and a catering company all in one. We love it ! We love cooking, we love eating and we love parties. So we had a baby shower for who we now know as baby Scott. Here is the recipe for one of the many things baked for the shower, a battenburg cake with pink and blue squares. The almond paste uses water and a little sherry instead of raw eggs for the mammies-to-be. By the way, this is the most frustrating cake to make. It looks so pretty but it is difficult to put together. So from now on, I'm sticking with Mr. Kipling next time ;-) 

Ingredients

175g butter or block margarine, softened
175g caster sugar
few drops vanilla extract
3 eggs, beaten
175g self raising flour

225g almond paste: 
-225g icing sugar
-225g caster sugar
-450g ground almonds
-1/2 tsp vanilla extract
-water mixed with sherry and 2tsp lemon juice

caster sugar , to dredge
225g apricot jam, melted
Baby themed decorations(I used pink and blue feet from Kitchen Complements)

Preheat the oven to 190 degrees celsius.

Cream the butter and sugar together until light and fluffy, then beat in the vanilla extract. Add the eggs, a little at a time, beating well after each addition. Gradually sift all the flour over the mixture and fold it in lightly. 

Grease and line a 30 x 20cm swiss roll tin. I made double the amount of mixture to make one pink sponge and one blue sponge. But you can make this mixture and pleat the baking paper lengthways in the swiss roll tin. You will need to split the mixture between 2 bowls then add pink colouring to one bowl and blue into the other one and spoon the pink mixture into one side of the swiss roll tin and the blue into the other side.


I used 15 drops of pink liquid food colouring made by PME arts and crafts. The colour was peach more than pink so you might like to use more drops of pink colour. The blue colour was Gentian by Squires Kitchen Professional. It only took 6 drops to get a deep colour but it was a green-blue colour so try another blue colour.


Depending on the food colouring you are using gradually add the pink colour to half the mix until desired depth of color is achieved. Do the same to the other half of the mixture with the blue colouring. Turn the mixtures into the swiss roll tin(s).

Bake for 40-45mins until well risen, firm to the touch and beginning to shrink away from the sides of the tin. Turn out and leave to cool on a wire rack.


Next make the almond paste.
Sift the icing sugar into a bowl and mix in the caster sugar and the ground almonds. Add the vanilla extract, water, sherry and lemon juice and mix to a stiff dough. Take care not to add too much liquid, it makes the paste very difficult to work with. Knead lightly. Cover until ready to use.


Assembling the battenburg:
When the sponges are cold, trim the cakes to an equal size and cut each in half lengthways, then quarter if you used double the mixture. Sprinkle caster sugar on the work surface and roll out the almond paste to a rectangle 30x40cm. Spread a thin layer of melted apricot jam on the rolled out almond paste. Place one strip of the pink cake on the almond paste so it lies up against the short edge of the paste. Carefully brush the top and long side of the cake with the jam. Place a strip of blue beside the pink strip. Then stack alternative coloured strips of cake on top on the bottom strips. 


Have a bowl of icing sugar beside you when rolling the almond paste around the layers of cake. Press the paste firmly against the cake. In a hot kitchen, with hot hands, this is a very sticky and messy exercise. So I had to keep brushing my hands with the icing sugar.


Now seal and trim the join and trim the edges using a sharp knife.


  Dredge with caster sugar and decorate.